Presenting text stimuli
In this section we introduce you to creating and inserting visual stimuli in PsychoPy3. In many experiments you would want to include an introduction text for your participants, or text that is part of the experiment or maybe insert images that are to be rated by the participants.
The first part of the section will focus on creating and manipulating textual stimuli. The next section will focus on implementing images into the screen and manipulating the size and position of these images.
Textual Stimuli
The first step to creating textual stimuli is... Importing the needed modules of course!
The modules needed to create visual stimuli are:
- Visual: a module for visual presentation.
- Event: a module that controls events, like key pressing.
- Core: a module for controlling the time of screen views.
- Data: a module for importing and working with data.
from psychopy import visual, event, data, core
Creating the Window
The next step is to create a window that our stimuli can be presented in. To define a window we create a new variable that we decide to call win. This variable will consist of the visual.Window function that will define our window for us.
Note: The word Window in visual.Window starts with a capital W, if you don't write it in caps the function won't work.
The screen we create with the function uses default values. These default values include the screen being gray and the screen size not being a full screen. Inside the function we can define a different screen color and size, for example that we want the color of the window to be pink and we want window to be in full screen.
win = visual.Window(color = 'pink', fullscr=True)
Creating the Text
Now that we have defined our window we can create the message that we want to be shown inside the window. In the example below I use the visual.TextStim function to create the text stimulus. Inside the function I tell it that I want the stimulus to be created in the window we called win, and I define the text to be Greetings!.
message = visual.TextStim(win, text= 'Greetings!')
Drawing the Text and Flipping the Screen
Next we need to draw the text we created on a hidden screen, so it is ready to be presented when we need it. This is simply done using the following code:
message.draw()
Now that we have the text on a hidden screen, we need to flip the screen to reveal the text stimulus.
This is done using the function below.
win.flip()
Key Pressing
We include the following code to allow us to press a key to close the window or change it to the next window.
event.waitKeys()
This waits for any key we press and then flips forward to the next window.
Closing the Window
Last of all, we must remember to close our window! Other wise we will be stuck onto our stimulus page forever and ever (or we can just press ESC).
Closing the window is simply done by typing
win.close()
Now you should be able to create your first textual stimuli!
Summary of code used in the steps above:
win = visual.Window(color = 'pink', fullscr=True)  #Creates the window
message = visual.TextStim(win, text= 'Greetings!') #Creates the textual Stimuli
message.draw()                                     #Draws the text/stimuli
win.flip()                                         #Flips the screen to reveal the stimulus
event.waitKeys()                                   #Waits for any key press to switch screens
win.close                                          #Closes the current window down
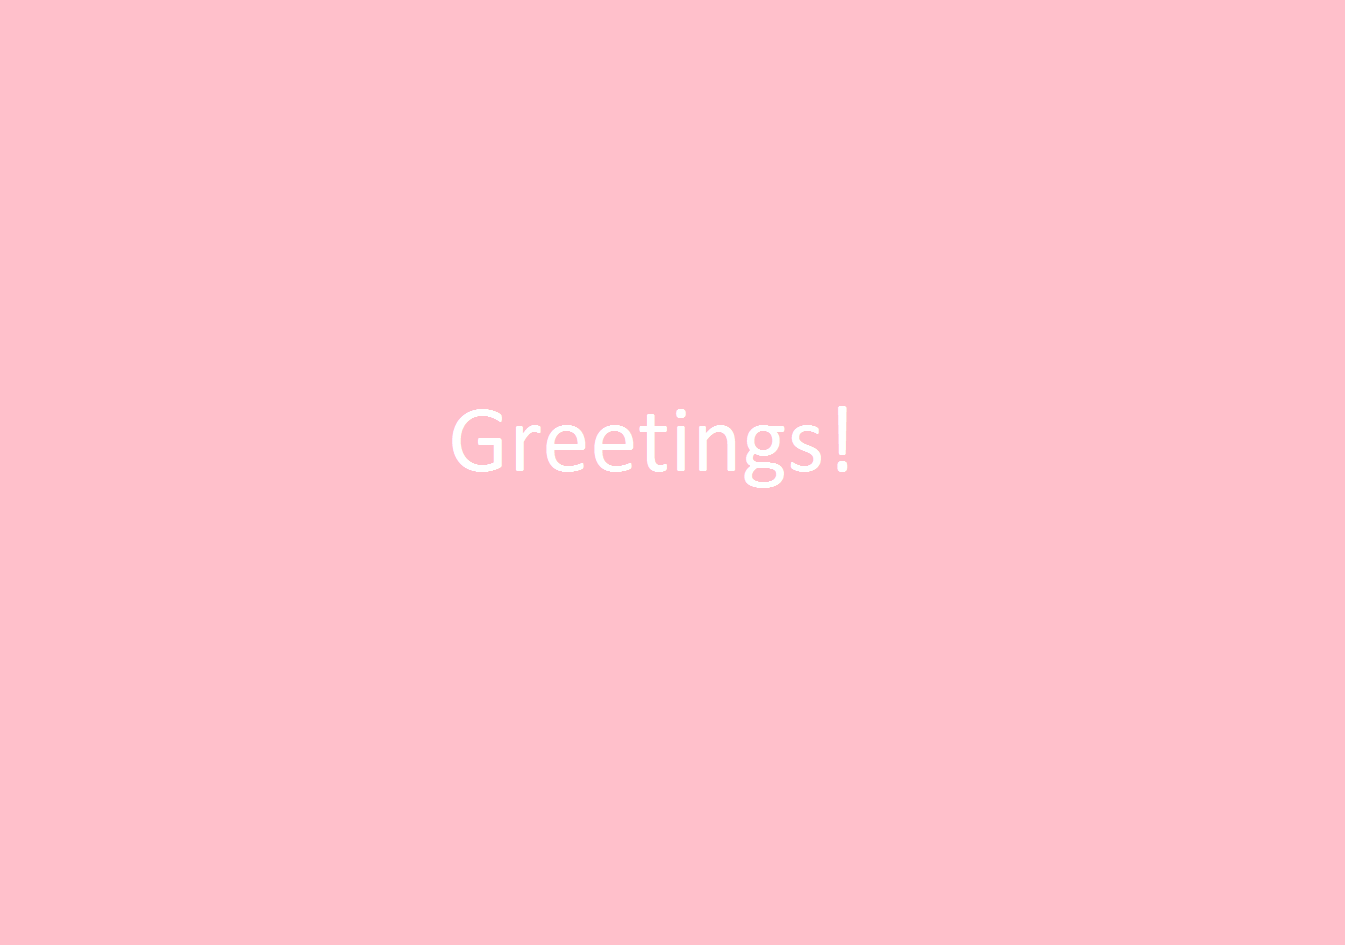
Figure 3.5: An example of how your screen should look after completing the steps above.
Example 3.1
In the following example I create multiple windows of text. The first one giving an introduction to my participant. And the following text windows being simple messages of instruction. As you can see below, I have created one window. Then I call upon that window every time I create a new text. And for each window of text I have to always remember to flip, add key pressing and close the window. Otherwise you will get all of the messages on one window. In the section after this example, I teach you an easier way of implementing these steps, by using functions to do the dirty work for you.
Note: You may also notice that in the text I call instructions, I have a whole paragraph of text. In order to enable using a whole paragraph, I use three apostrophes ''' in the front and end of the text. Usually we use one apostrophe, however for a paragraph we use three.
from psychopy import visual, event

win = visual.Window(color = 'pink', fullscr=True)

instructions = visual.TextStim(win, text = '''
Greetings Extraterrestrial Being!
I am a human and I would like to help you find planet Earth.
Just follow my instructions in the following screens.
If you complete my instructions as fast as possible.
I will let you taste an extraordinary treasure that exists on Earth.
The treasure of cake.
Hope to see you soon!
Love, Human.
''' )

instructions.draw()
win.flip()
event.waitKeys()
win.close

message1 = visual.TextStim(win, text='Press the letter P!!!')
message1.draw()
win.flip()
event.waitKeys()
win.close

message2 = visual.TextStim(win, text='Pat your head and press the space bar!')
message2.draw()
win.flip()
event.waitKeys()
win.close

message3 = visual.TextStim(win, text='Type in the first letter of your name')
message3.draw()
win.flip()
event.waitKeys()
win.close
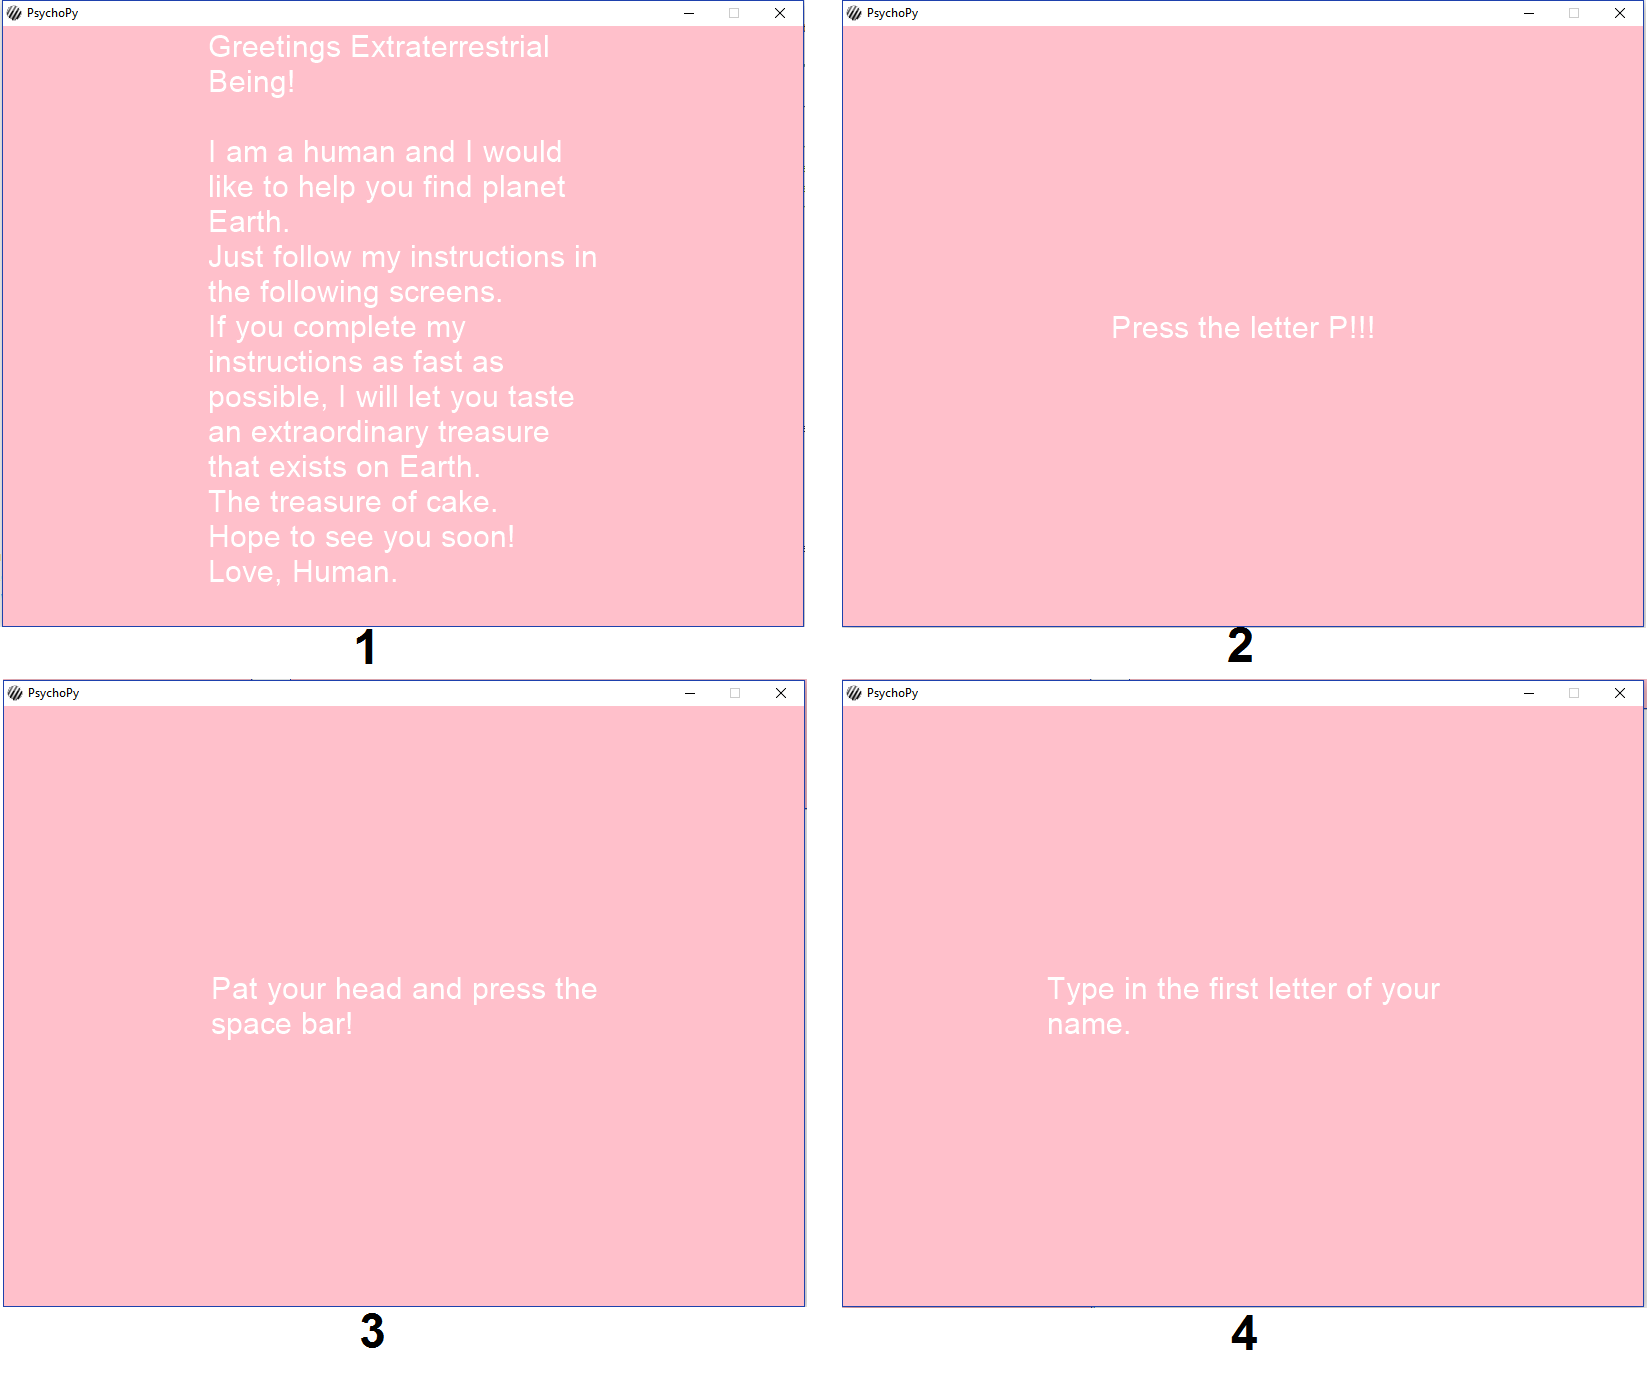
Figure 3.6: The output of the screens when running the code above.
Functions and Textual Stimuli
To use functions and loops to loop through creating the windows, represent the stimuli and then close the windows for us, we first start with importing the same modules as above.
from psychopy import visual, event
Next we also create the window variable that creates our window for us:
win = visual.Window(fullscr=True)
Creating the function
Now we can begin creating our function. First we must create a sentence that defines a new function we want to create. We want this function to take a text input and do something to it. We call this function text_fun().
def text_fun(txt)
The word txt inside the parenthesis of the function is a variable I have randomly chosen. Now I need to create that variable and give it a function. I want to give it the function of splitting up a paragraph of text into a list of individual words. I do this using the .split function.
txt = txt.split()
Next we begin creating the loop. The loop opener code looks like this:
for i in txt:
What happens here is that the loop will iterate through our list of words, called txt, and at each iteration it will take a word out of the list and load it into the variable 'i'. That is, imagine that we used the text "once upon a time there was a moose". Once we use the split function it breaks up the coherent string in a list of individual words: ["once", "upon", "a", "time", "there", "was", "a", "moose"]. When we run the loop, it will assign these words one-by-one to the variable 'i', such that in the first iteration i = "once", in the second iteration i = "upon", etc etc.
Now we can start creating our text stimulus inside our window win. I give the text stimulus variable the name message and use the TextStim() function as we did when creating the visual stimuli in the start of the chapter. Inside of the function I use the win variable to specify my window and I use the code text = i. This code specifies that the function should take word i from the txt list we created.
message = visual.TextStim(win, text = i)
In the final steps of the loop we simply draw, flip and close the message window as well as adding the event.waitKeys function.
message.draw()
win.flip()
event.waitKeys()
win.close
Now the loop is done and we can define what words we want in our list. This is done by using the text_fun function we creating above and feeding it a sentence.
text_fun('insert any text here and the function will split the words into separate screens')
Summary of Full code
Here is the full code for the function:
from psychopy import visual, event                    #Here we import the modules

win = visual.Window(fullscr=True)                     #Here we create our window object

def text_fun(txt):                                    #Here we define the name of our function
    txt = txt.split()                                 #Here we specify that we want the text to be split up
    for i in txt:                                     #Here we being our loop to loop through the words
        message = visual.TextStim(win, text = i)       #Here we create our text object
        message.draw()                                #Here we draw the text object
        message.flip()                                #Here we flip the text object
        event.waitKeys()                              #Here we tell it to close when there's a key press
        win.close                                     #Here we close the window

#Here we create the text we want shown in the windows
text_fun('insert any text here and the function will split the words into separate screens')
Exercises
- Create a window with a red background.
- Create text inside that window with the colour yellow.
- Write a short story and split the words of the story up, so they appear by a single word on each window.
- Create an introduction and instruction text that the participant can view before starting your experiment.